Converting Image Files


�Hello, this tutorial will teach you how to convert an image file that you dont need into an image file that you do need. There are many types of image file, but i will teach you how to get the image file that you need.
The first thing that you need to do is download the following program:
ReaConverter 5.5 Pro
When you have downloaded this website, installed it, and so on, follow these instructions tobegin converting your images.
1. Open the program (It should look like this)
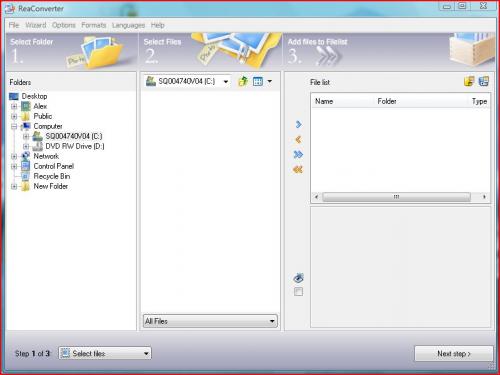
2. After opening the program, drag the picture that you want to be converted into the highlighted area. (I prefer placing the original image file that you want to convert on your desktop so that it can be easier to drag into the program.)

3. The image file will show up in the highlighted area after you have dragged and dropped it. After doing this, click "next step", which you will find on the bottom right corner. After clicking next step, you should see the following screen:

If you are interested in only converting the image file, you can ignore or skip this part of the program. This part is not important to us, therefore you can continue by clicking "next step", on the bottom right hand corner.
4. After clicking "next step", you will be taken to the next part of the conversion. This screen is very important, as it will need to be filled out accordingly to your specific� preferences. In the following steps, i will get you through this screen step by step.

1. The First section of this screen, the red outlined section, askes you where you would like your converted file to go after it is done converting, select the options in the red outlined section exactly as i have done, if you know a little more about file converting you can select a different converted file destionation, but if not, i would suggest selecting your "desktop" as your converted file destionation. According to the way i have my options set here my converted file will go to my desktop, as will yours.
2. The second section of this screen that you will need to set is the blue outlined section. This section asks you for the "Output format, or the file that you wish your converted image file to be, whether its jpeg, tif, gif, or psd. In this blue section, you must select the type of image file that you wish to convert your original image file to. Basically this is where you select your desired image file that you want your original image file to be converted to. I have selected jpeg, my original file is psd, so i have selected to change it to jpeg.
3. After selecting what type of image file you would like your original image file to be converted to, you can ignore the rest of the sections on this screen, or if you know a little more about image converting you can set these options accordingly to your preferences, if not, make sure that these extra sections look exactly the same as mine in the picture given above.
4. If you are not someone who knows a little more about image conversion and do not wish to set these options accordingly to your preferences, then press "Start Conversion", which you will find on the bottom right hand corner of the screen.
After clicking "Start Conversion" your image file will be converted, which you will see on your desktop (if it is the destination you have selected for your converted image file to be placed in.)
Thank You for reading this tutorial, i hope it has helped you in converting your image files.


 Views : 757
 Comments : 0
 Rating :
  Last Updated : Apr 9, 2009


