How to Install an AEM Brute Force Intake on a Nissan Titan


REMOVING STOCK INTAKE:
First step i did was turn my wheel all the way to the left to give me access to the fender liner. Now this step is optional as you can skip taking down the fender liner altogether (to be discussed later) but for my install i did.
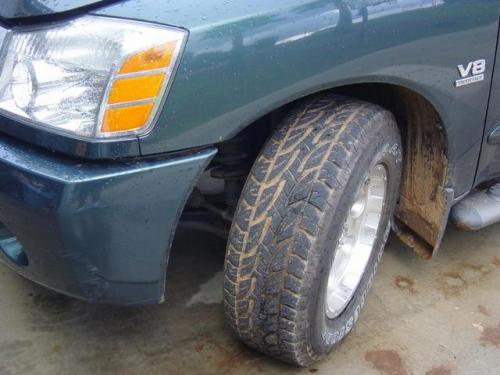
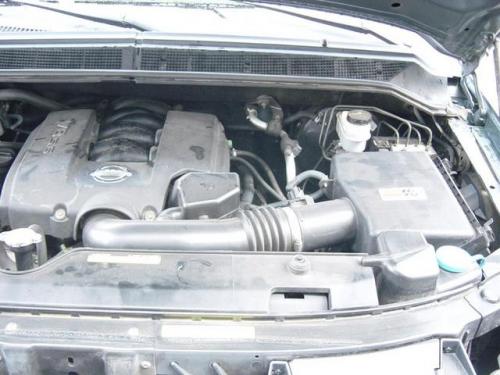
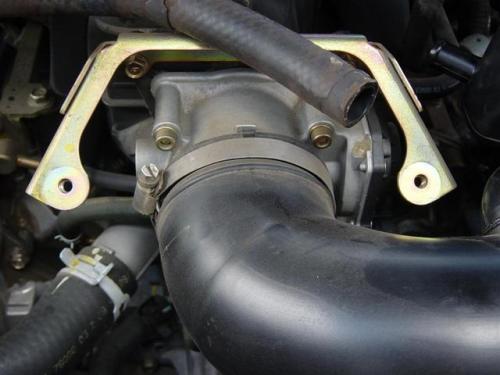
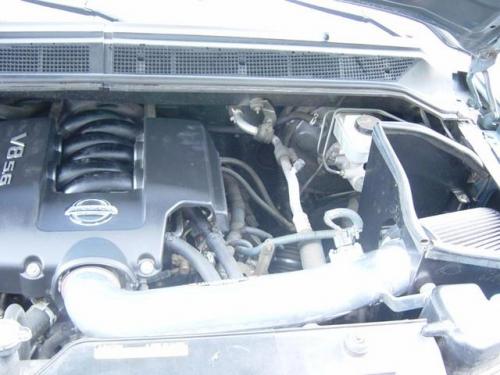
Here you have the stock setup.
First remove the two bolts from the engine cover as so
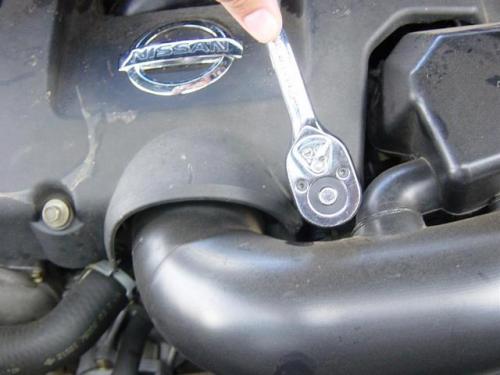
I removed the cover by giving the back a gentle tug. Be careful as you do not want to break the alignment "posts" that attach the engine cover to the back of the engine.
Next step is to remove the Mass Airflow Sensor. First unclip the sensor from the wire harness. Use a phillips head screwdriver to remove the two screws as shown.
Set the MAF sensor aside. Be very careful with this as it is delicate. I put mine in a plastic bag and put it somewhere where i knew it wouldnt drop or step on it.
Unhook the breather hoses from the stock intake. Using some pliers if they are too hard to do by hand. (not pictured)
Unclip the airbox lid and loosen the hose clamp at the throttle body (pictured)
Now take off the intake from the throttle body and remove the whole upper half. You should be left with this.

Now remove the stock panel airfilter. Remove the bolt from the bottom of the airbox.
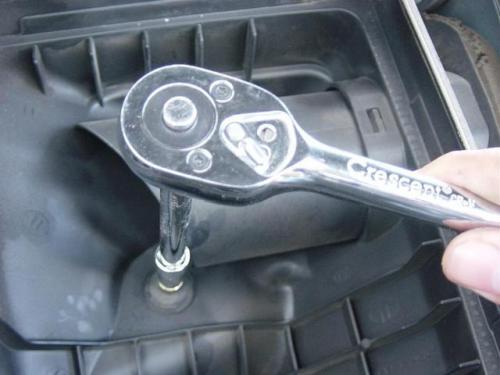
Next remove the bolt from the top side of the airbox. Keep this one as you will be using it for the heatshield.
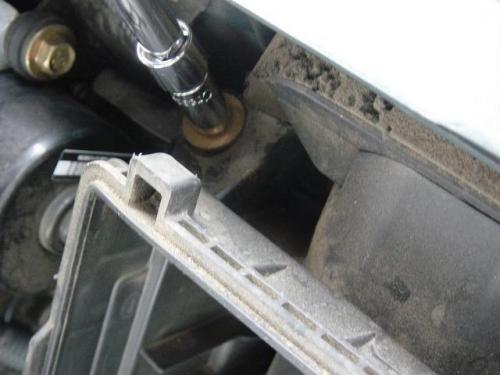
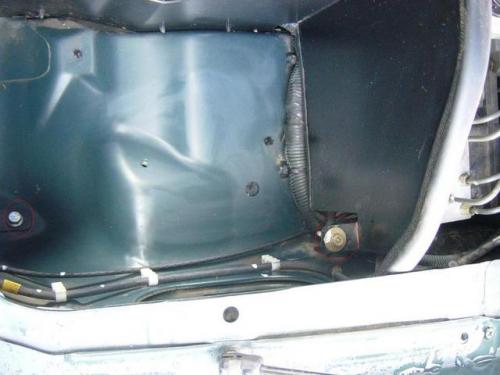
After this step the instructions from AEM say to take off the washer bottle. YOU DONT HAVE TO DO THIS. As i found out from tips from other members you can remove the lower airbox without taking off the washer bottle. To do this tug at the box with an upward motion and the hidden bolt will slide through the rubber holder. You should be left with this.
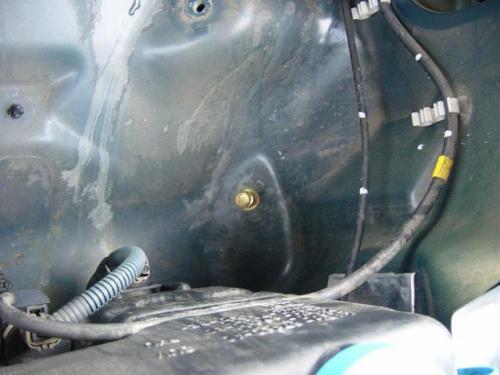
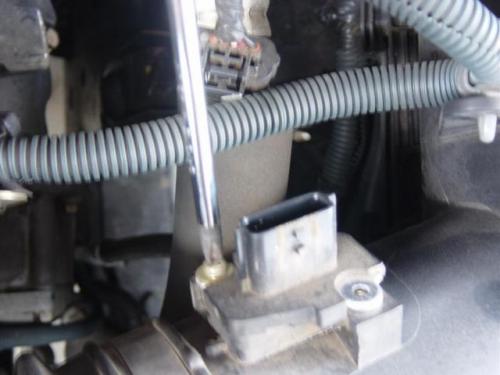
Remove the golden looking bolt that is visible.
Here is the optional step that you dont have to take. Some members attached their heatshield at the bottom fender with zip ties and others have said that you dont even need to attach it with anything as the top two bolts work well enough. I decided to put the supplied screws in anyway. So I jacked up the truck and removed the clips from the fenderliner. Most of them should pop out with the twist of a flat-head screwdriver. There is however 1 screw holding the liner at the front of the truck (headlight front). Remove it and unclip the other clips holding the liner. Now you can pull down the liner and see the clips holding the wire harness to the fender as shown.
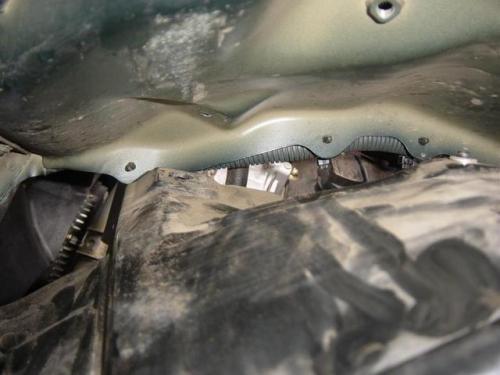
Now unclip the little plastic holders from the fender. I used a pair of needle nosed pliers.
Attach the rubber molding to the top of the heatshield. After this is done place the heatshield inside the engine bay.
Next use the bolt from the stock airbox to attach the top (near the cab) mounting hole to the truck. Then use the supplied bolt to secure the bottom mounting tab of the heatshield to the truck. Once done it should look like this.
The next step depends on what you decided on earlier. If you did not remove the fender liner, zip tie the bottom holes of the heatshield the the truck fender. If you decided to attach it with the supplied bolts, do so with the 4 bolts and nuts supplied. Once you are done clip the harness that you uncliped from the fender and attach it to the holes above the bolts you just attached to the fender. Reinstall the fender liner using the clips and screw you removed earlier.
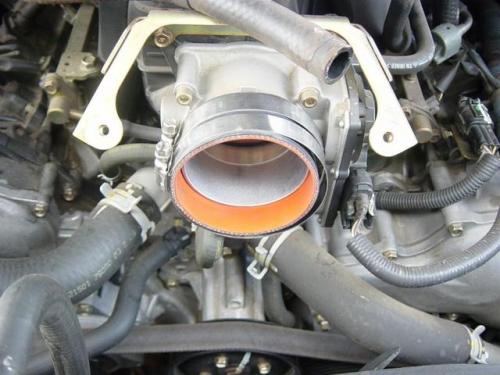
Now slide the silicone coupler to the throttle body.
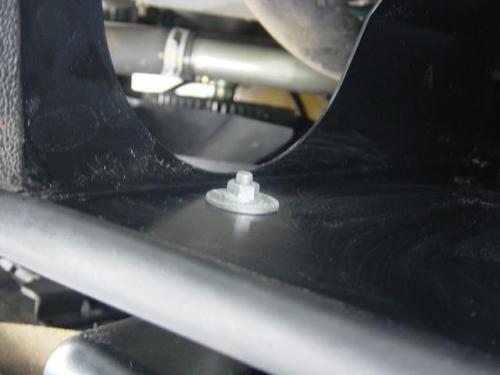
Next attach the bolt with the rubber in the middle to the outside of the heatshield as per the directions.
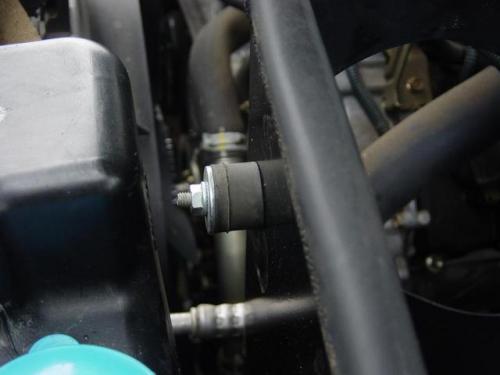
The inside should look like this.
Now lay the filter inside of the heatshield and place the intake tube in place.
Now line up the pipe support tab to the bolt with the rubber that you previouly attached to the heatshield. Make sure that the support tab from the intake tube is touching the rubber and the supplied washer and nut are on the outside as shown.

Now make sure the tube is not rubbing or touching anything and tighten the clamp at the throttle body securing the intake tube.

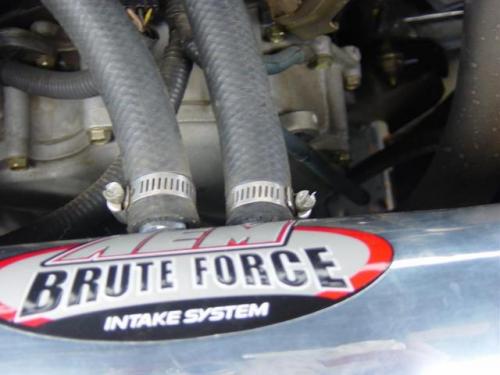
Next, slip the supplied breather hoses to the intake. Tighten the small hose clamps to secure it to the intake tube.
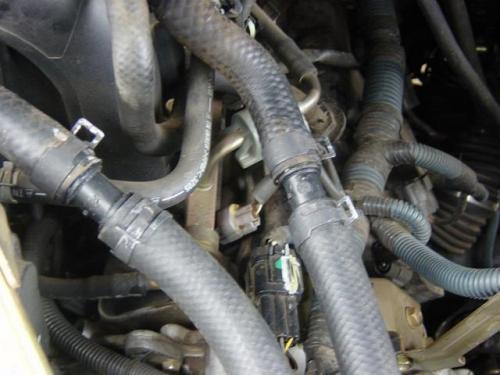
Now attach the other end of the breather hoses to the stock breather hoses. Use the stock spring clamps to attach them to each other.
Now plug in the Mass airflow sensor into the intake tube using the stock screws. Make sure to install it gently to prevent damage. Also make sure it is installed the same way it was taken out.
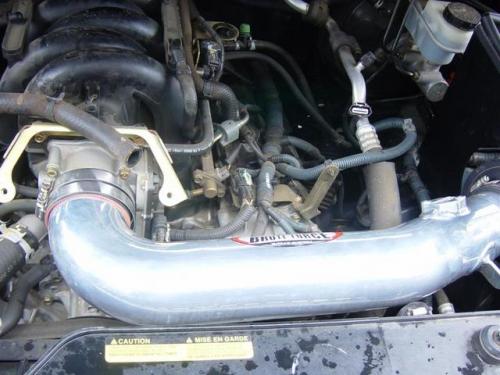
Reinstall the engine cover and check all the bolts to make sure that they are tight. Your engine should now look like this.


 Views : 1295
 Comments : 0
 Rating :
  Last Updated : Jan 4, 2008


