How to smooth skin in Photoshop


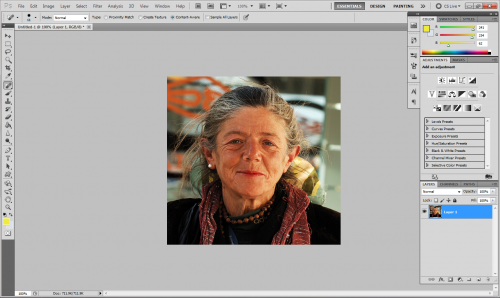
Start by opening up Photoshop, and loading the picture you want to edit.
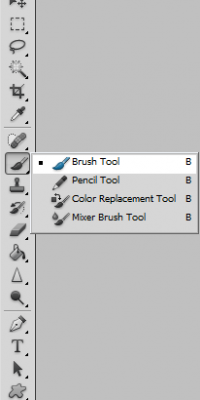
Step 1 - Select the brush tool
Step 2 - Hit the 'q' key, which will bring you into quick mask mode. Using the brush, draw in the areas you want to smoothen. Try to avoid things such as lips, nostrils, eyes, and hair. 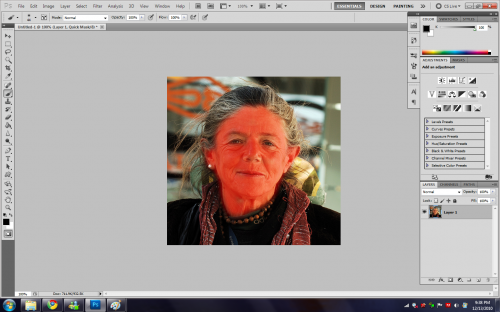
Step 3 - Once finished selecting, strike the 'q' key again. A selection will now be present around your drawn figure. If your selection is outside of the drawn figure (the inverse), simply hit ctrl+shft+I and it will inverse your selection.

Step 4 - Go to Filter ->Blur->Surface Blur. Slide the sliders until your area looks nice. Hit enter.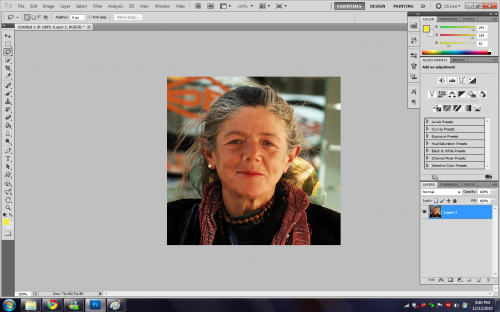
(Optional)Step 5- If your face now has an uneven tone to it (tooks very tan or not tan enough), start by selecting your brush, striking the 'q' key, and selecting the face again.
Step 6-Strike the 'q' key again to select your area. Right click inside the selected area, and hit 'Layer Via Copy'.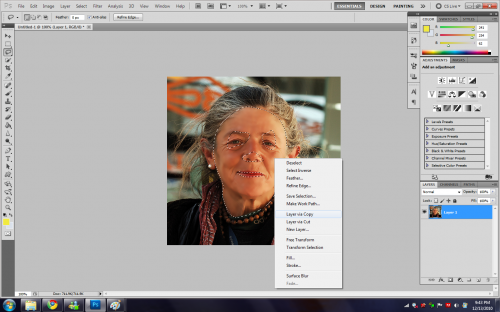
Step 7-Right click the new layer, and click "Blending Options"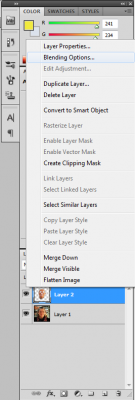
Step 8- Click "Color Overlay". The checkmark should become ticked, and the default color, red, should mask your selection.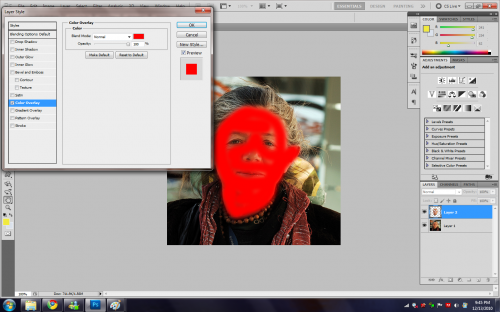
Step 9- Change your tone color. If you are looking to darken the skin, look for a brown or dark-tan color. If you are looking to lighten the skin, select white. Hit Ok.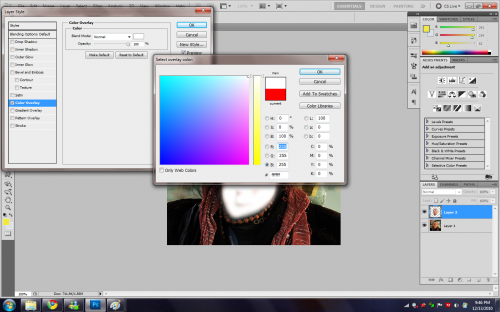
Step 10- Finally pace the opacity slider up/down accordingly until your visual looks good.
If done correctly, you can convert pictures like this:

Into this work of art:

Enjoy! Happy Photoshopping!


 Views : 1028
 Comments : 0
 Rating :
  Last Updated : Jan 3, 2012


