Spray Painting Auto Body Parts


So you just went to the body shop...and found out that it'll cost you a ton of money to get your lip kit painted. And you definitely don't want to be one of those guys driving around with unpainted body parts...so here is a cheap alternative
This tutorial will go through the processing of painting your lip kit but can be used for other parts. The total cost of supplies was $50...but I overdid it a little bit, got 6 cans of paint...got enough sandpaper to last me for years etc.
Supplies:
- Paint-I suggest you go on the forums and find out what paint best matches your car color. I was able to find a paint code for paint that was top notch. [1 can should be enough for 2 sideskirts, but I reccomend you get double that]
- Primer-You'll want to get duplicolor sandable primer, the can is burgundy
- Sand Paper-you will want to get it in different grits, depending on level of project
- if sanding off old paint...get 200,400, 800, 1000, 2000
- if paint fresh stuff get 800, 1000, 2000
- Clear Coat-the bumper clear coat they sell in the stores was crap, so I ended up using the clear coat from my "painting wheels" project. Duplicolor Wheel Paint Clear
- Garden Hose...or spray water bottle if you are in need
- Newspaper
Prep Work
- First things first, before we can start painting, we need to smooth out the surface, for this I just ran over the surface with the 1000 grit sand paper, that way the primer will stick, run over it with water to wash away the dust, and let it dry
- the part should be smooth to the touch at this point
- Place the part over newspaper...unless you want a painted floor
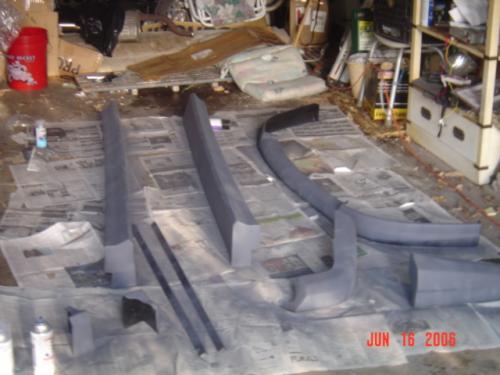
- Go over the lip with primer...I used 3 coats of primer, with 15 mins breaks to let it dry
- At this point I left the part have a 1 day break to let it really harden
- Here is a picture of our progress at this point
- The next day, we'll need to wetsand off the primer(use sandpaper while running water over the process), start with 800 grit, then go to 1000 and 2000...in the end the part will be very smooth to the touch. Make sure to run water over the part
- Next its time to paint, make sure to use very light coats, and give plenty of time for the things to try(15 mins)...if you use heavy coats the paint will run, so be careful
- Once done with the paint(1 can per piece or so)...give it about 24 hours to try and for paint to harden
- The next day use a wet paper towel and run it over the paint while applying light pressure...this will take away all the dust and will make the paint look much smoother.
- Afterwards let it dry for about an hour and then apply clear coat. The clear coat needs to be applied uniformly and I reccomend applying at least 5 coats to make it resistant to road debris.....for example...my front lip hit a tire on the highway...there was a huge smudge...but the paint didn't crack, and there were no scratches
- completed product
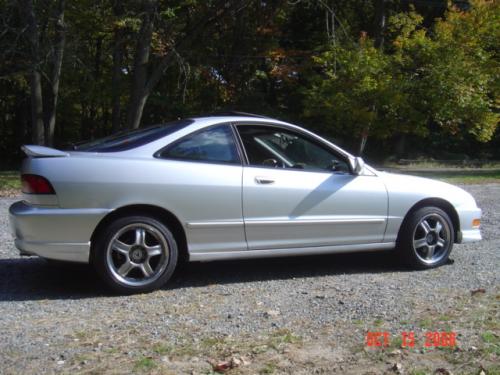
- After about a year, some scratches were seen on the car(winter driving), but paint is cheap, and you can easily refresh the paint every 2 years
What did you think of this tutorial?


+ 16


0 CommentsAdd a Comment

 Views : 3619
 Comments : 0
 Rating :
  Last Updated : Aug 8, 2007

