Flawless Skin in Photoshop CS3


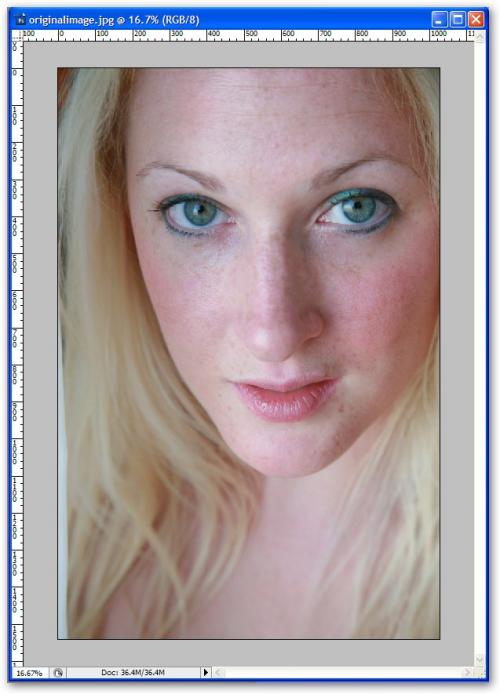
For this tutorial I picked an image of a girl with freckly skin so that you can really see the difference this technique can make to blemished skin or to improve uneven skin tone.
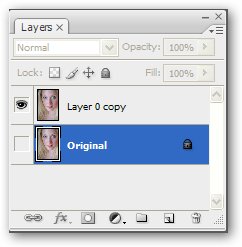
When working on an image in Photoshop I always begin by unlocking the layer and creating a copy. This can be done easily by double clicking the ‘Background Layer' and renaming it as you wish. With that layer still selected go to Layer> Duplicate Layer (or use the keyboard shortcut Ctrl + J) to get an exact copy of your original layer. I do this in case I ever need to revert to the original image quickly.
I will now lock this layer so I am not accidentally moving it around and hide it, by clicking the Lock icon in the layers Palette and then the Eye next to that layer.
Now create a new blank layer above the other two by going Layer> New> Layer (Shift + Ctrl + N) or simply clicking the New Layer button along the bottom row of icons on the Layers Palette (for refernce I named this layer Skin)
Working on the Skin layer select your paint brush from the Tools bar and drop the Opacity to about 4%, the Flow to 90% and slect a soft edge such as #500.
Alt click on an area of the skin that you like the tone of (not a dark or light area but something fairly central) to take a sample of that colour. You will now notice that this has appeared as your forground colour.
Ensuring that you are working on the Skin Layer begin painting over the skin, making sure that you do not work on one spot for too long. I like to gradually build the colour up all over the face as it looks more natural this way. If you want to maintain darker and light skintones (recommended as if you just use the one colour the face can tend to look rather plastic and fake looking and also often very pale) Sample the area the colour where you are working and paint the area with the darker or light colour as required. I like to continually sample different areas so that it has a very natual contoured effect.
If you notice some particuarly stubborn blemishes or wrinkles etc, simply jump onto the original copy layer (or as mine is called Layer 0 copy) and run over them with the Healing Brush Tool, but make sure you go back to the Skin layer if you want to continue painting. Also if you found at any time that you may have painted anywhere you didn't mean to (like over the eyes or hair) simply get the Eraser and with a soft brush and an Opacity of about 80% run over any areas you don't want the skin colour to be applied to.
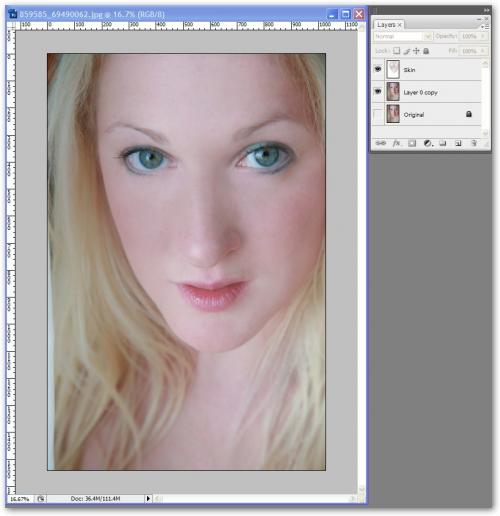
You should end up with something like this (notice the Skin layer should no look like it has a ghostly transparent sort of face mask):
For this tutorial I am also wanting some more obvious contouring on the face (highlights and shadows). Go back to the 'Layer 0 copy' Layer and select the Dodge Tool from the Tool Bar. Choose a soft brush such as the 500 that we choose for the Paint Brush, seclect Range: Highlights and drop the Exposure to about 5%.
Now start painting in the highlights where the light would naturally catch on the face (forehead, nose, on top of the cheek bones, between the eyebrow and the eye etc. You can also take this opportunity to whiten the teeth or whites of eyes as you wish.
Now change to the Burn Tool (hidden under the Dodge Tool) and do the same thing only to the areas you wish to be darker (cheeks, just below the highlight on the eye socket, jawline, nosline, temples) but change the Range to Shadows. The Burn Tool can often come out rather harshly so use sparingly or drop the Exposure more.
While you have this tool, you can also darken the eyebrows if they appear too washed out and even the eyes to make them stand out.
Now go back to the Skin Layer and with the Brush tool again sample a colour (pinkish colour for the lips). Rub gently over to create a light colour or continue to get darker lipstick. With this same colour you can also rub this over the cheeks to create blush by using a large soft brush (I used the brush size 1000).
For my liking this skintone was a little pale and I want her to appear to have a nice glow or very light tan. Create a copy of 'Layer 0 copy'. Select this new copy (Layer 0 copy 2) and the Skin Layer by Ctrl clicking them to highlight them both and select Layer> Merge Layers.
When you Merge Layers it will take on the name of the top layer which in the case will be Skin. With Skin Layer selected only go to Image> Adjustments> Photo Filter and select a Warming Filter that you like. You can make the Filter more intense or more subtle by adjusting the Density slider.
For this image I chose the Density at 40%.
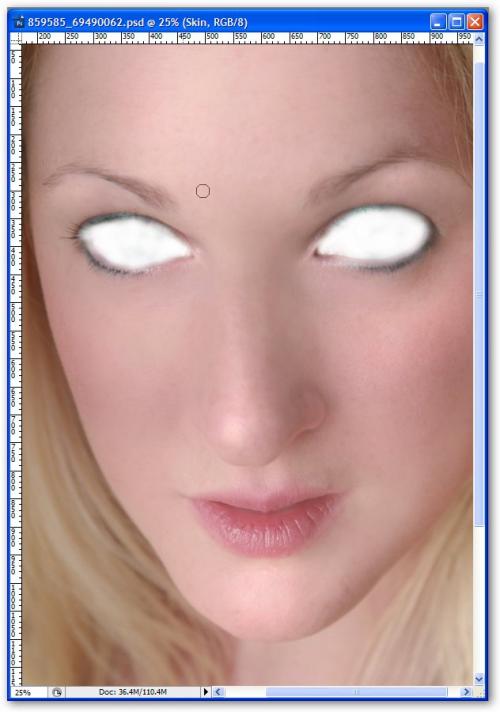
Now because I want this Filter applied only to colour the skin I am going to sure the Eraser to get rid of the eyes on the skin layer (once this is done you will see the eyes on the layer below it which wont have the Filter effect applies so will retain the right colour.
Use a small soft brush with an opacity of about 50%. Keep erasing until you are happy with the amount of eye showing through from th layer below. If you turn on all the other layers and show the skin Layer you will be able to see the white where you have erased.
If you are happy with your image you can now merge the layers to one if you wish or leave them separate if you think you may want to continue working with this file at a later date. I usually keep to unmerged PSD and also a one layer JPEG.
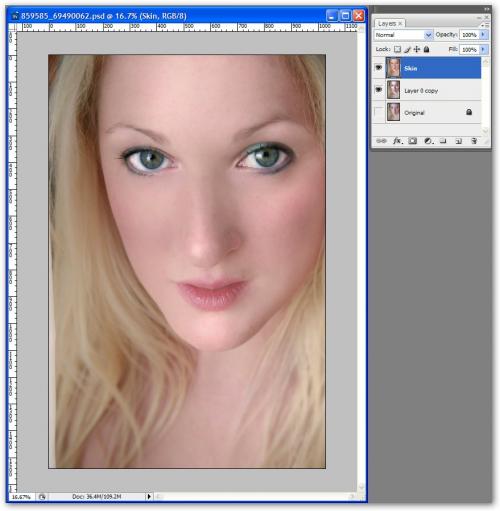
Now take a look at the finally against the original. Much better I think! And it is so quick and easy to do, but looks like a professional has done it.

Hope you liked it and thanks for viewing! Please leave feedback on what you thought, and look out for my other Photoshop tutorials coming soon.


 Views : 2231
 Comments : 1
 Rating :
  Last Updated : Nov 11, 2008


