How to Create a Basic Web Page
First, insert a table:
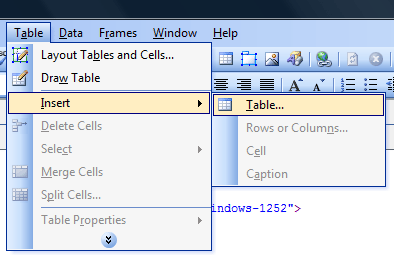
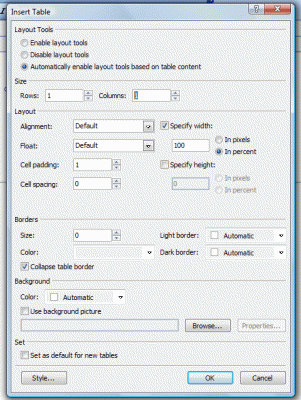
Here are the settings I use for the first table.
If you want to set a background or outline this table with a coordinating
border, this is where you do it.
Border: size 1, choose your color
Background: I usually use a background image
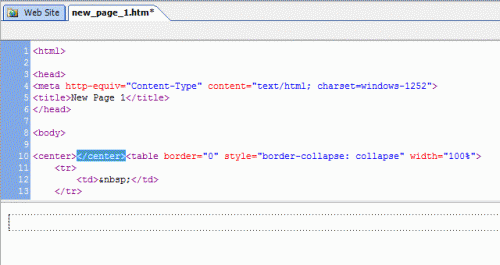
You can set your center tags at this point, too. I like to
keep my pages center. Not all templates call for it, though.
Once you add your first center tag, it will automatically add the closing tag.
Highlight it, cut it, and paste it after the closing table tag.
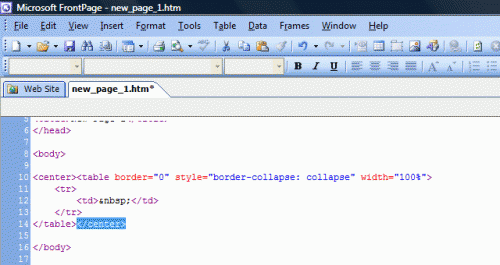
Go ahead and resize your table too:
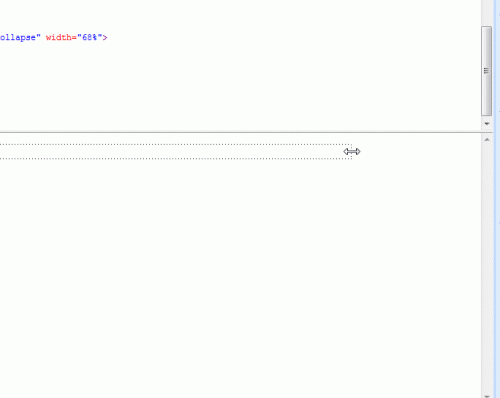
Click inside of this table and leave your cursor there.
Then go ahead and insert your new table. For this table, I leave the default 2
Rows and 2 Columns.
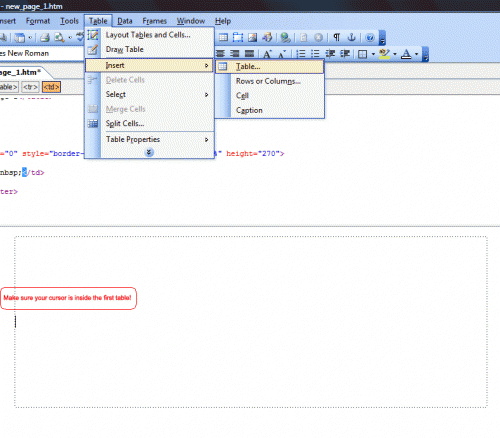
Set center tags on the new table.
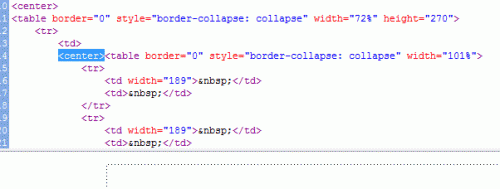
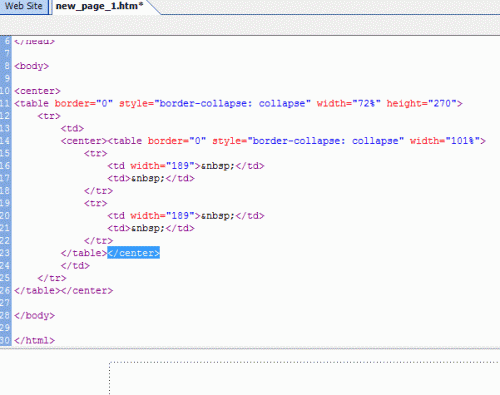
Notice in the code where your two table codes are.
You need an opening center tag before the table code starts and a closing center
tag after the table ends.
This really is a handy little trick.
Resize the inside table. If you have a hard time grabbing the
edge of the inside table, you can set your cell padding on your outside table to
2 or 3 to give you some breathing room. Mine are almost always set to zero.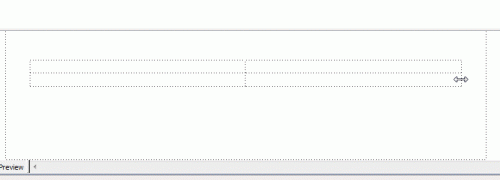
Now arrange your cells as you'd like!
I usually put in as the inside table's background a solid
coordinating color.
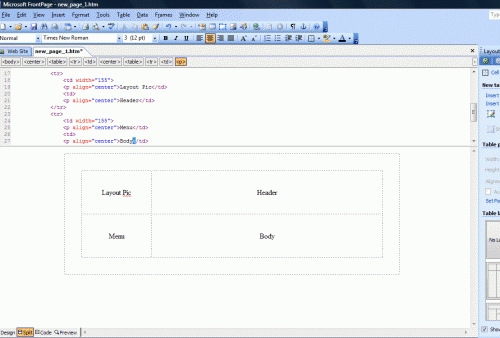
Now to insert a frame.
Put your cursor in the Body area of the table.
Go to Insert... Inline Frame.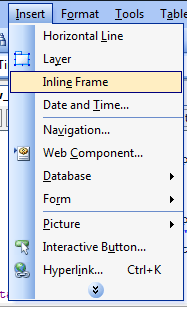
Now resize your frame to suit your needs. Your cells will
probably need rearranging again.
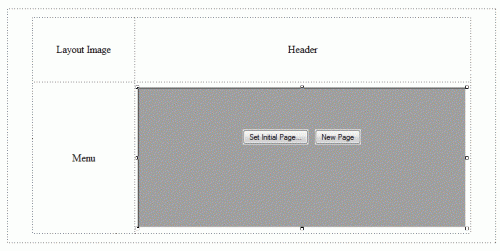
If you don't want the frame's borders to show, double click on
the outer edges of the frame (where those black boxes are right there) and it
should bring up a menu for your frame. Uncheck the box that says Show Border.
Click on New Page. This will create a second page for you to
decorate accordingly and will need to be saved separately. When you go to save
or publish your website, you'll be asked twice what images to save and what to
name the inside page.
Here's where it gets tricky with inline frames. This
highlighted section of code is basically your inline frame (or iframe) code. The
width, height, and src will differ from what I have listed here. See the first
part of the code? It says iframe name="I1"? In those quotes you'll want to
change that I1 to something you'll remember. I will usually name my frame
something simple like frame or mainpage.

To get your links to appear inside of your frame...
Create your text or import your image you want linked.
Highlight your text or single-left-click on your image.
Right-click on the image or highlighted and select Hyperlink Properties.
This is where you create your link and tell your text or image where to go when
clicked on.
You'll notice a button on the right side of that box.
Target Frame...
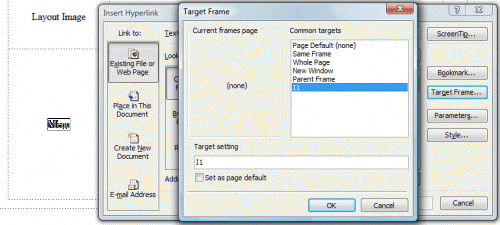
This is kind of a handy little tool here. If you set it as the
page default, any link at all that isn't specifically told where to go will go
where the page default says to go. So use that one only when you want everything
to open in the frame (including links that go outside the site) or maybe if you
want everything to open in a new window or everything to open in the current
window.
I have selected I1 because right now that's what my frame's name is. If you name
your frame something else, it will show up right there instead of I1.
And there you have it. The basics of putting together a tabled
template and an inline frame.


