How to Create a Sweet Candy Cane in Adobe Illustrator CS3
Step 1. Creating a document
Make a document 500x500 pixels in size.
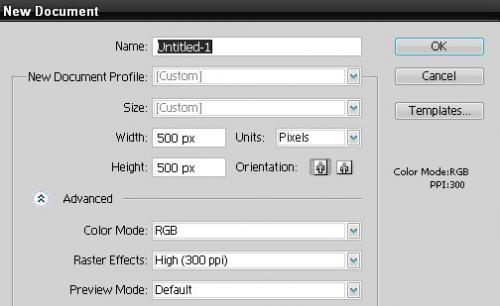
Step 2: Making the shape of the Candy Cane
Create a circle (150x150 pixels), set the Stroke to 1 and remove the Fill color.
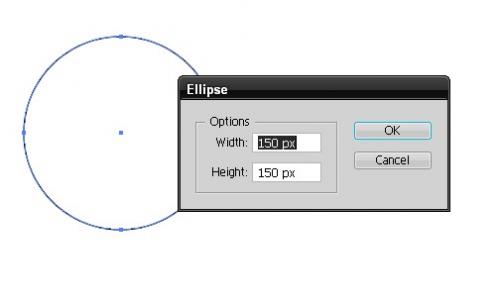
With the Direct Selection Tool (A) select the bottom Anchor point and hit the Delete key on your keyboard.
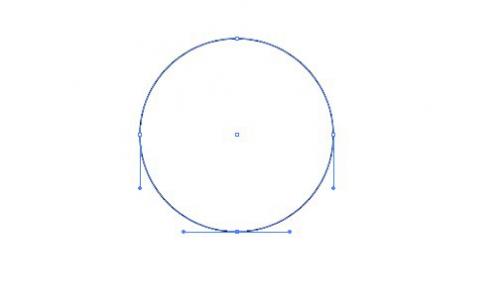
You should end up with something like this.
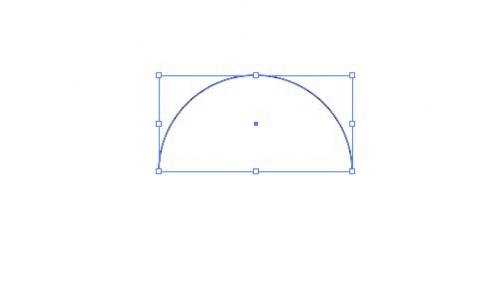
Now grab the Line Segment Tool (/) from the Tool panel and draw the vertical line.
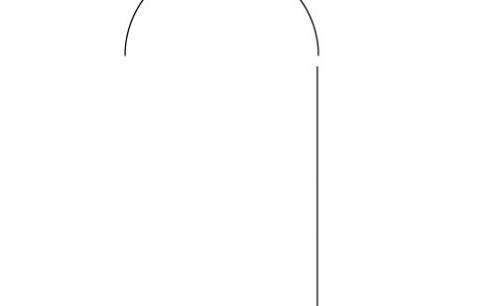
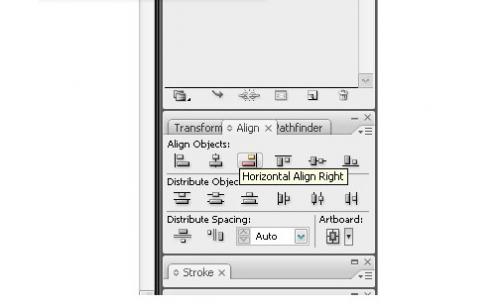
Select both pathsand under the Align Panel hit the Horizontal Align Right.
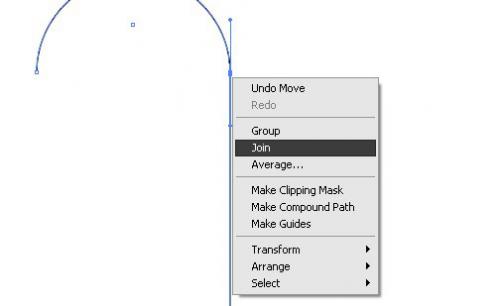
Nudge the vertical line upwards using the up arrow key on the keyboard until the vertical line meats the arc. Using Direct Selection Tool (A) select both endpoints (Arcs and Vertical line) and under the right click select Join.
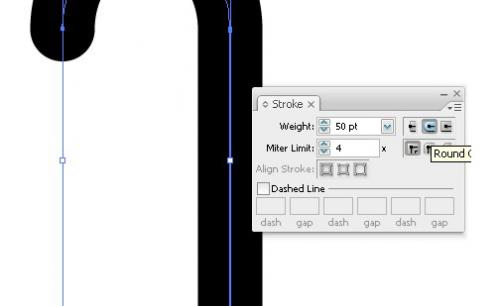
Now we need to set thicknes for the path we've just created. Set the Stroke to 50 and make sure to hit the Round Cap in the Stroke panel to make ends rounded.
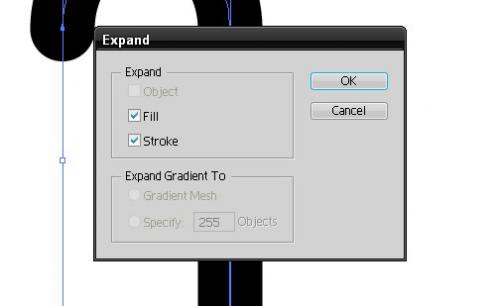
Under Object select Expand to convert the path in to the editable shape.
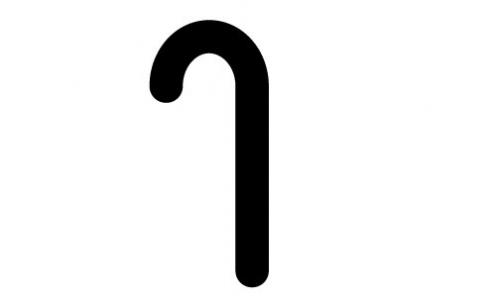
You should end up with something like this.
Step 3: Applying colors to the Candy Cane
To apply the colors to the Candy Cane we need to divide the shape we've just created into small segments. To do that we will need the Arc Tool. Just create a few arcs as it shown in the picture below.
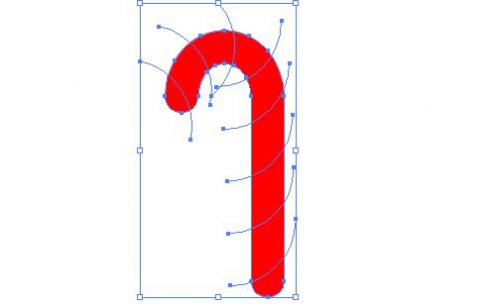
Select the arcs and the shape of the Candy Cane we've created in the previous step and hit the Delete button under the Pathfinder Panel.
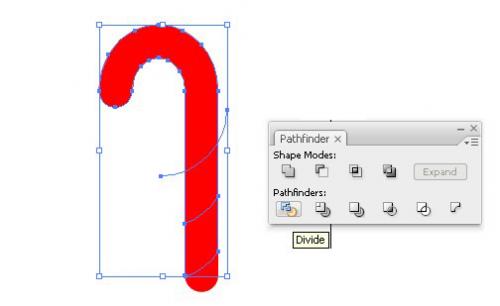
We are going to use white and red colors. Every other segment will be white.

Step 4: Applying the colors to the Candy Cane
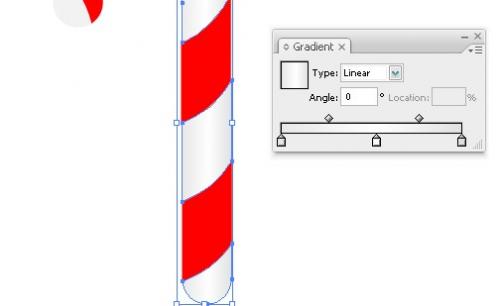
To simulate 3D look of our Candy Cane we need to use gradients. The most important thing is to highlight the middle part of the Candy Cane. For the white parts we will be using linear gradients (light gray-white-light gray).
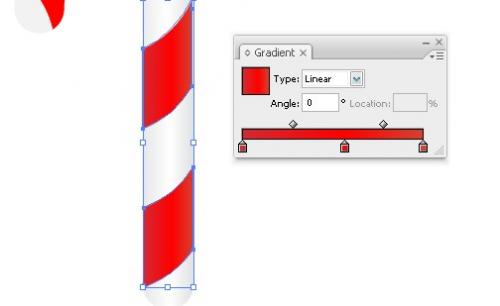
For the red parts we will use a linear gradient with combination of dark and light red.
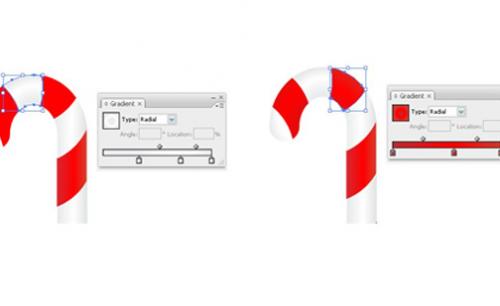
For the curved paths we will use radial gradients.
Step 5: Making a highlight
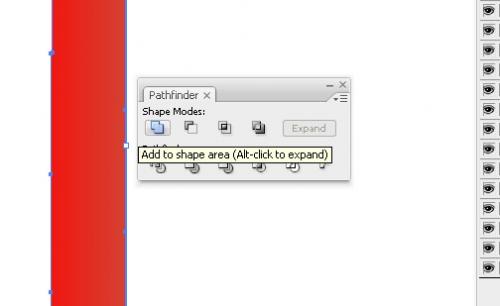
Select all segments of the Candy Cane and hit the Ctrl/Cmd+C (copy) and Ctrl/Cmd+F (paste in front) and under the Pathfinder panel hit the Add to shape area.
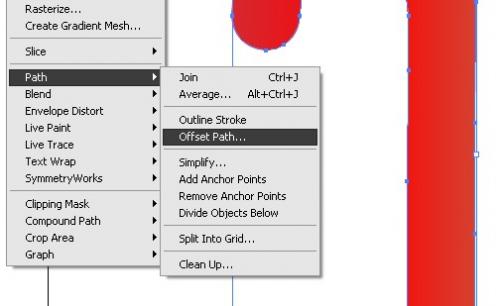
Under the Object select Path>Offset path.
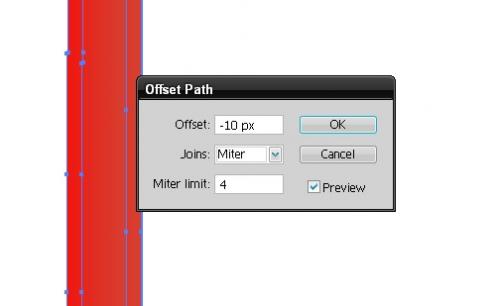
Set the value for Offset to -10 pixel.
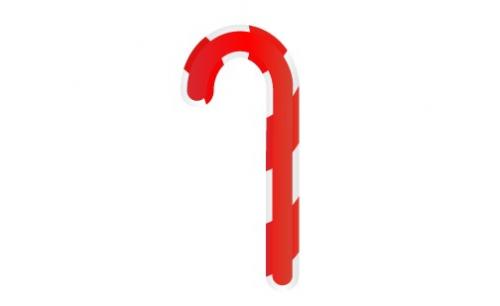
Hit the Delete key on the keyboard to remove the larger shape of the Candy Cane and leave just the smaller one.
Set the Fill color to white and lower Opacity to 17%.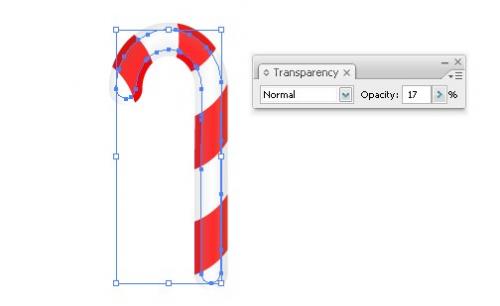
You can add a small detail lika a bow to make it more interesting.

I hope you like this tutorial. Thank you for reading.


