How to Create Make a Cut Capo for Alternate Guitar Tunings
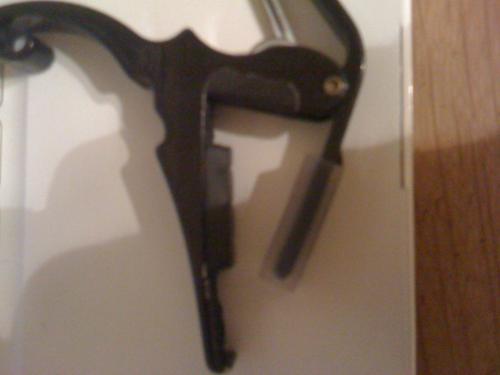
The first step in creating a "cut capo" is to buy a normal one. Clamp capos are what this tutorial is designed around, like this one:

The next step is to determine what kind of tuning you'd like to get from your cut capo. Personally, I chose an open low-E string, with an open B string and high-E string. Clamp your capo onto any fret on your guitar, and make small notches in the rubber of the capo with the point of a sharp knife.
CAUTION: IF USING A POCKET KNIFE, BE SURE IT IS IN THE LOCKED POSITION. IF USING ANY OTHER TYPE OF KNIFE, PRESS GENTLY, DO NOT FORCE. CUTTING YOUR FINGER OFF IS NOT WORTH IT.
You want to make your notches on either side of the string to be left open, leaving enough space next to the adjacent string so that the remaining rubber will not deaden the vibrations of your open string.
So now that you have marked which strings to leave open, now is the time to unclamp your capo from your guitar and get to work.
Gently slice your knife into the rubber at the locations of your notches. Once each cut has been made, begin to slice underneath the rubber in an effort to pop out the rubber you don't need. Once this is done, your capo should resemble something like this:

I find that this particular capo works best on fret # 2 (or two frets above your bridge). This means that you could use a normal capo at fret #1, and your cut capo at fret #3. It opens up a myriad of possibilities.
Have fun! Questions or comments can be directed to colton.ancell@gmail.com


