How To Make Quilted Oven Gloves
Materials
2 rectangles of fabric 17" by 9" - these will even take big hands for when your partner is helping with the cooking!
6 nine inch squares of backing fabric - black is a good choice
2 nine inch squares of thermal wadding
2.1/2" strips of contrasting colour for binding: total requirement about 108"
5" strip of contrasting fabric 1.1/2" wide for the loop
Making the quilted oven gloves
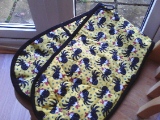
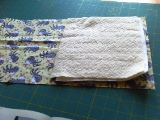
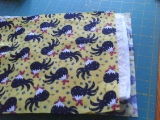
Lay one rectangle with right side down. At each end lay one square of thermal wadding then one square of normal wadding then lay the 2nd rectangle with right side up. Square up the edges and pin. Lay 2 of the remaining fabric squares right side down and lay the last 2 fabric squares on top of them with right side up. You should now have one pile of rectangles with wadding for the front of the gloves and 2 sets of paired squares for the back of the gloves.
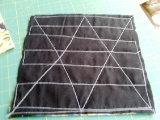
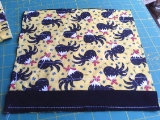
Quilt each set of fabric to hold all the layers together. Starting from the middle I stitched lines along the length of the rectangles and then stitched at an angle across the width to make diamond shapes.
Cut two 9" lengths of binding (the 2.1/2" strip), fold in half along the length and press. Place along one edge of each of the squares with the fold towards the middle of the square and all raw edges together. Sew in place then flip to the other side and hand stitch in place. these squares will cover the back of your hands when you are using the oven gloves.
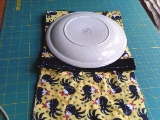
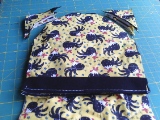
Place the squares on top of each end of the rectangles with the binding towards the middle as shown. Using a plate or something similar that is round, mark a curve at the corners and cut the corners off to create a mitten shape.
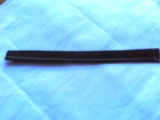
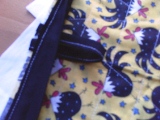
Using the 5" strip of 1.1/2" fabric, fold the raw edges in towards the middle and then fold the whole strip in half along the length. Stitch along the length. This is the loop from which to hang the oven gloves.
Place the two ends of the loop in line with the raw edge of the side of the oven gloves. Choose a place in the middle between the two handpieces as this is where the oven gloves will hang from. Pin in place.
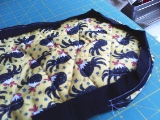
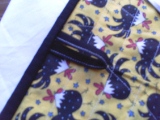
Press the 2.1/2" strip for the binding in half along its length. If necessary join 2 strips together to give the overall length required (about 90"). Place this strip around the entire outer edge of the quilted oven gloves, with the fold towards the middle and all raw edges together. Sew in place. Take it gently round the curves and ease the fabric to give a smooth curve. Don't worry if the binding appears a little wavy on the curves: the slack will be taken up when you flip the binding and slipstitch it to the other side. Make sure the binding passes over the loop- oven gloves, loop, binding. That way the raw edges of the loop will be protected inside the binding.
When you reach the place you began sewing, cut the ends of the binding so that there is about 1/2" overlap and turn under a small hem on each end to hide the raw edges. Flip the fold of the binding over to the other side and slipstitch in place.
You have now completed a pretty and functional addition to your kitchen.
Resources: ludlow quilt and sew


