How To Use Reactive Dye
Reactive dyes were developed in the 1950's and they very quickly became popular amongst dye enthusiasts. People have dyed fabrics using natural materials for centuries. The trouble with such dyestuffs is that colours are highly variable depending on where the natural materials were harvested and what the local conditions were. With modern reactive dyes it is possible to get the same colour again and again, giving the dyer complete control over the process.
Reactive dyes work on cellulose fibres. This means they will add permanent colour to any fabric made from plant fibres. These include cotton, linen, hemp and bamboo. Poly/cotton blends will work, but you will get a muted melange effect as opposed to a bright colour.
For the reaction to work reliably, the following conditions must be met, simultaneously:
The reaction will only take place in suspension so there must be water present. It will not work in a dry situation.
Heat. While you will get a marginal result with cold fluids, optimum results are achieved at 65-70 degrees Celsius.
All the chemicals must be present at optimum ratios.
Time. The reaction takes some time. It is not instantaneous and you will need a little patience.
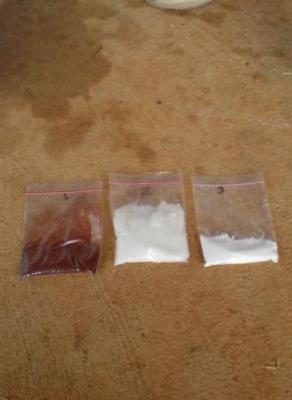
The chemicals you will need are dye, salt and soda ash (fixative).

Before you even touch the powders, I recommend you plan your route carefully first. Choose a suitable environment to work in with good ventilation. I prefer to work outside. Choose a pot that is big enough for your project. There needs to be some space for the fabric to be stirred freely around. If the fabric is too tightly crushed in the pot, it will produce a mottled crush effect.
Have plenty of clean water nearby and lots of old towels for spills and splashes.
Fill the pot with water and put it over a gas stove or other heat source to heat up. When the water is lukewarm you can add the dye powder.
Stir the liquid well until all the lumps are dissolved. A lump will leave an ugly mark that is quite distinctive. If you want to make sure you get none, mix the dye in a separate container and strain it through a fine fabric before adding it to the pot.
Stir in the salt.
Make sure you get rid of all the lumps.
Now stir in your fabric. Stir it around constantly in the liquid for at least half an hour to thoroughly batter the colour into the fibre. When the temperature gets to 70 degrees, turn the flame down. The dye must not boil. Boiling changes the colour.
Mix the soda ash into the pot.
Stir the pot for an hour. The longer you stir the fabric for, the more even the colour will be. It is both a physical and a chemical process.
Remove the pot from the heat and rinse the fabric immediately if you do not want crush marks. Wash out all the excess dye with lots of clean soapy water. Once the water finally runs clear, you can add some fabric softener. Dry the fabric flat or indoors. If you hang it over a washline the heat of the sun can burn a stripe.
I do not have the patience for flat colour and prefer the surprise of tie dye like this!


